Tempering chocolate is indeed an art, and mastering it can elevate your culinary creations to a whole new level. However, as any chocolatier will tell you, it’s not always a smooth ride on the cocoa wave. We delve into the delectable yet delicate world of chocolate tempering and explore the various pitfalls of tempering chocolate that can turn your sweet dreams into a cocoa nightmare.
What Can Go Wrong When Tempering Chocolate?
I quickly learned that tempering chocolate was both an art and a science where precision and patience, which are not always my forte, were paramount to the outcome of perfectly tempered chocolate.
Through my experiences, I came across some of the most common problems that can go wrong with tempering chocolates.
By understanding these common issues and their solutions, you’ll be better equipped to navigate the basic key principles and sometimes tricky processes of chocolate tempering. Remember, practice and patience are crucial to becoming a master chocolatier.
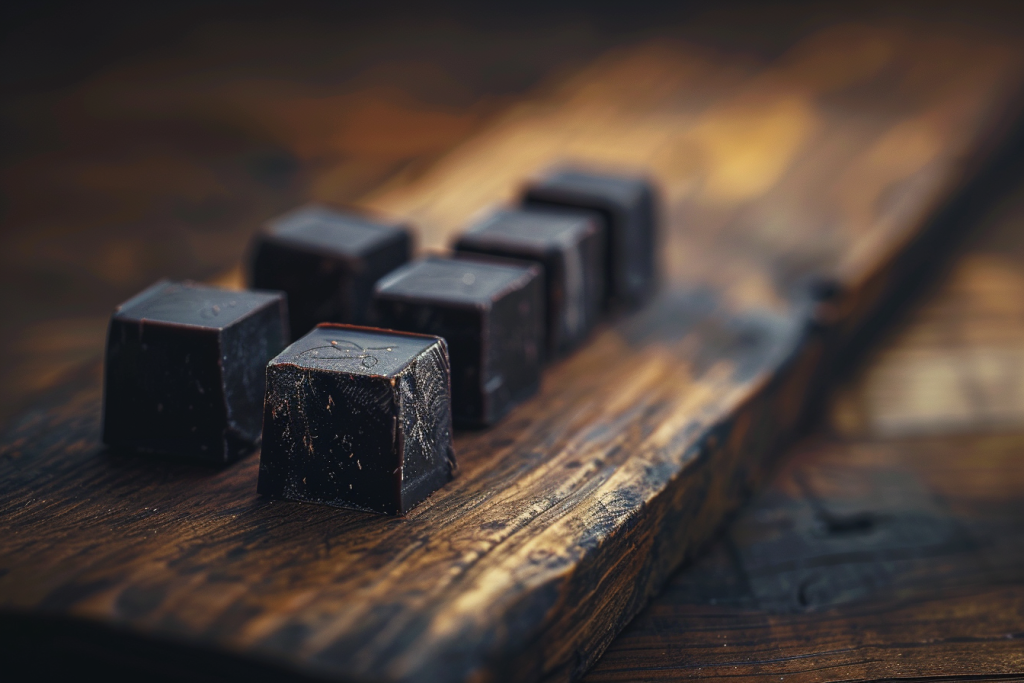
1. Chocolate Bloom
Chocolate bloom is the appearance of white or gray streaks on the surface of tempered chocolate, which can make it unappealing and affect its texture. Chocolate bloom can be seen in two types: sugar bloom and fat bloom.
Conversely, cooling it too rapidly can result in uneven crystallization, making the chocolate look mottled and grainy. It’s advisable to use a reliable candy thermometer to monitor the temperature meticulously during the tempering process.
Solution
To prevent chocolate bloom, ensure your chocolate is stored in a cool, dry place away from strong odors. Always use fresh chocolate and avoid temperature fluctuations. Remember that different chocolate types have different melting points; melt your choice of chocolate within its specific temperature range.
If you encounter chocolate bloom, you can often salvage the chocolate by melting it gently and retempering it. This will redistribute the cocoa butter crystals and eliminate the bloom.
2. Seized Chocolate
Seized chocolate is when your melted chocolate suddenly becomes thick and grainy. It happens when even a small amount of moisture comes into contact with the chocolate.
Chocolate and water are mortal enemies. Even a tiny droplet of water can cause your chocolate to seize, turning it into a thick, unworkable mess.

Solution
Be cautious when melting chocolate, and avoid introducing any moisture. Ensure to keep all utensils and equipment completely dry. Your work environment can also affect the tempering process; avoid working in a humid climate to prevent the mishap of seized chocolate. You also need to invest in a reliable chocolate tempering machine that can offer accurate temperature readings.
The ideal conditions of a kitchen to temper chocolate is a temperature of 64 degrees Fahrenheit to 70 degrees Fahrenheit with a humidity range of between 50% to 65%.
If your chocolate seizes, you can save it by adding a small amount of vegetable oil or cocoa butter and gently stirring until it smooths out. Be cautious not to add too much, as it can affect the chocolate’s flavor and texture.
3. Burnt Chocolate
Chocolate is notorious for being sensitive to temperature fluctuations. Heating it too quickly or letting it get too hot during the process can cause it to become overheated or burn, which has a bitter taste, leading to a dull, streaky appearance and a crumbly texture once set.
Solution
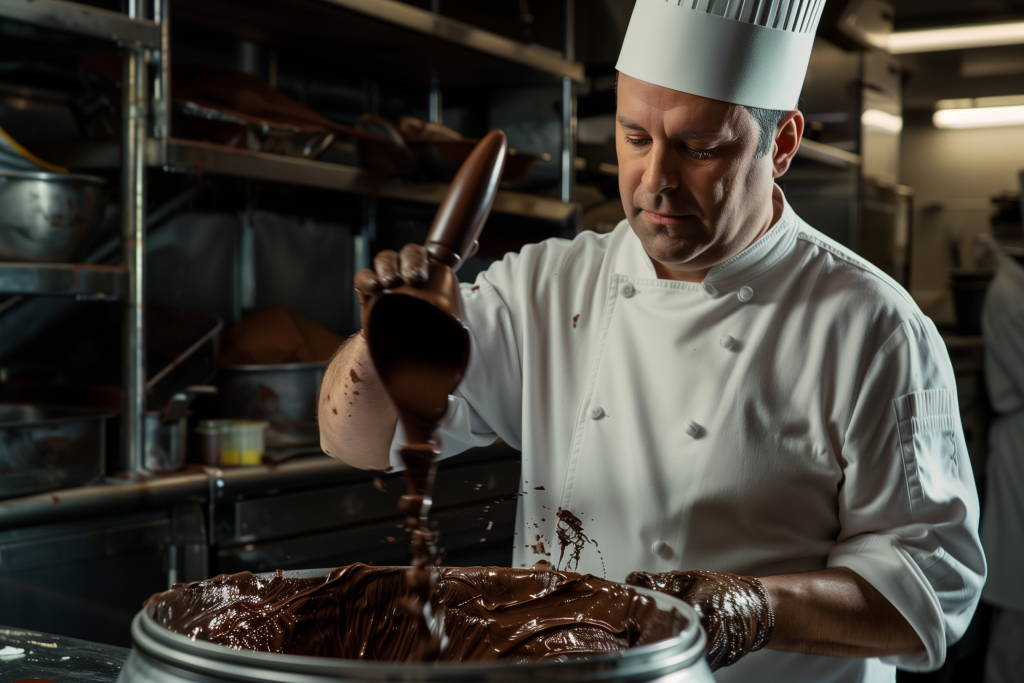
Use low heat settings when melting chocolate, and avoid direct contact with high heat sources. I found that using a double broiler system to melt my chocolate was the safest way to temper it. It minimized the chance of burning the chocolate.
Frequent stirring can help distribute heat evenly. If your chocolate is slightly burnt, you can try to salvage it by removing it from the heat immediately. If it’s severely burnt, it’s best to discard it and start with fresh chocolate.
4. Air Bubbles In The Chocolate
Air bubbles trapped within tempered chocolate can mar its appearance, making it less glossy and potentially affecting the texture. Tempered chocolate needs to be continuously agitated to allow for even heat distribution. However, excessive stirring can introduce unwanted air bubbles and disrupt the delicate crystal structure you’re trying to achieve.
Solution
To minimize the formation of air bubbles in your tempered chocolate, use the proper tempering technique and avoid over-stirring or whipping motions. Instead, agitate the chocolate using a pulling or pushing motion.
Related Questions
During my earlier experiments with tempering chocolates, I came across some other issues when tempering chocolate. Here are a few related questions you may be interested in reading about tempered chocolate.
Why Does My Tempered Chocolate Not Harden?
If your chocolate does not temper or harden properly, it means it hasn’t been tempered correctly. Tempering involves precise temperature control to create stable cocoa butter crystals. If the temperature isn’t maintained within the correct range during tempering, the chocolate won’t set correctly, resulting in a soft or tacky texture instead of the desired hard, glossy finish.
How Often Can You Temper The Same Chocolate?
You can temper the same chocolate multiple times as long as it’s done carefully. However, with each retempering, the chocolate’s quality can deteriorate slightly, affecting its texture and shine. For the best results, it’s recommended to temper chocolate no more than two or three times before starting with fresh chocolate. It’s also important that you know what chocolate tempering machine is best to use.
How Does Tempering Affect Chocolate?
Tempering is a critical chocolate-making process affecting its texture, appearance, and shelf life. It involves carefully melting and cooling chocolate to form stable cocoa butter crystals.
Additionally, tempering helps extend chocolate’s shelf life by preventing fat and sugar blooms, which are crystalline structures that can develop on the chocolate’s surface when it’s not tempered correctly.
Conclusion
While tempering chocolate can be a finicky process, understanding and avoiding these common pitfalls will help you achieve that perfect glossy finish and delightful snap in your chocolate creations. Arming yourself with the right equipment, knowing how to use a tempering machine, maintaining precise temperature control, and exercising patience will set you on the way to mastering the sweet science of chocolate tempering. Happy chocolate crafting!
Nathaniel Lee is an avid cook, drawing on his decades of home cooking and fine dining experience. He is a contributing chef at Mashed, and his recipes and contributions have been featured in Tasting Table, Edible Arrangements, Insanely Good Recipes, and The Daily Meal.