jI’ve ruined more holiday dinners than I care to admit by guessing cooking times and serving meat that was either dangerously undercooked or dry as sawdust. After years of stressful holiday cooking and disappointed family faces, I finally learned the secrets to perfect turkey cooking times that guarantee a juicy, golden-brown centerpiece every single time.
Contents
Turkey Cooking Times, Recipes, and More
Getting turkey cooking times just right can feel like solving a complex puzzle, especially when you’re juggling different bird sizes, stuffing choices, and cooking methods. This comprehensive guide breaks down everything you need to know about cooking times into simple, practical steps that will transform you from an uncertain cook into a confident holiday hero.
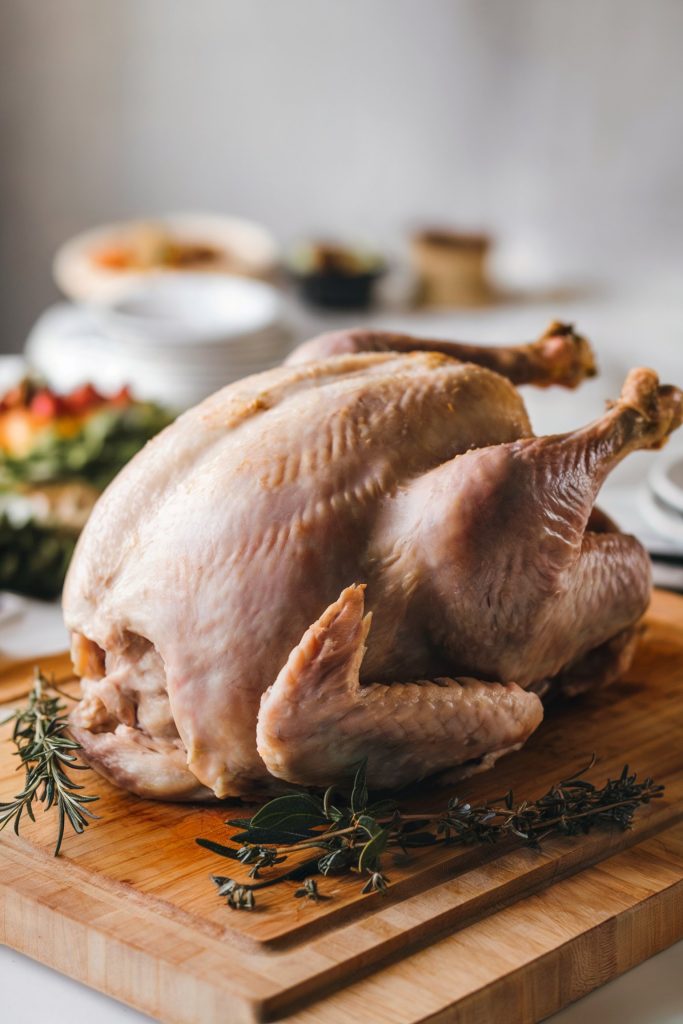
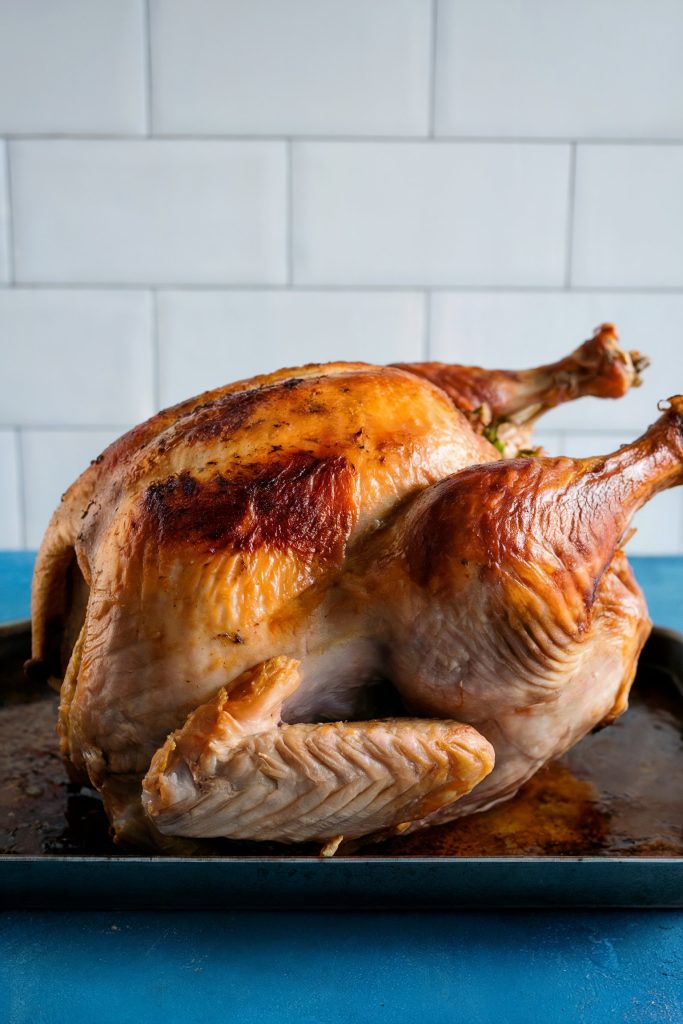
The centerpiece of many holiday feasts, a perfectly cooked turkey is a source of pride for any home cook. However, achieving that golden-brown, juicy bird can sometimes feel daunting. This guide covers everything you need to know, from choosing the right bird to carving it like a pro, making your turkey the star of the show.
Choosing Your Turkey
Before anything else, selecting the right size and type of turkey is the foundation for a successful and delicious meal.
1. Pick the Right Turkey Size
Plan for about 1-1.5 pounds of turkey per person. This accounts for bone-in weight, making sure you’ll have enough for everyone, plus some tasty leftovers.
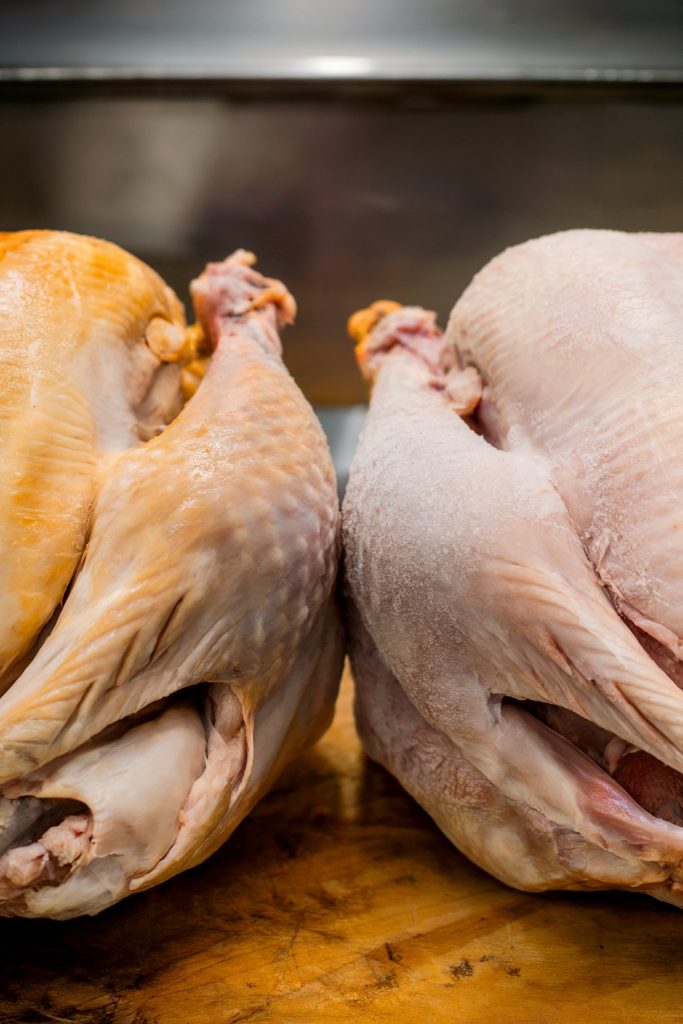
2. Know When to Use Fresh or Frozen Turkey
Fresh turkeys are generally preferred for flavor, as they haven’t been subjected to the freezing process. However, frozen turkeys are more convenient, especially if you’re buying well in advance.
3. Know Your Labels
“Natural” simply means the turkey has been minimally processed and doesn’t contain artificial ingredients. “Kosher” turkeys are pre-brined, which adds flavor and moisture. “Basted” or “self-basting” turkeys contain added solutions, which can affect the final flavor and texture.

4. Consider Heritage Breeds
Heritage turkeys, like Bourbon Reds or Narragansetts, often have more flavor and darker meat due to their genetics and farming practices. While heritage turkeys are usually more expensive, they offer a richer taste experience.
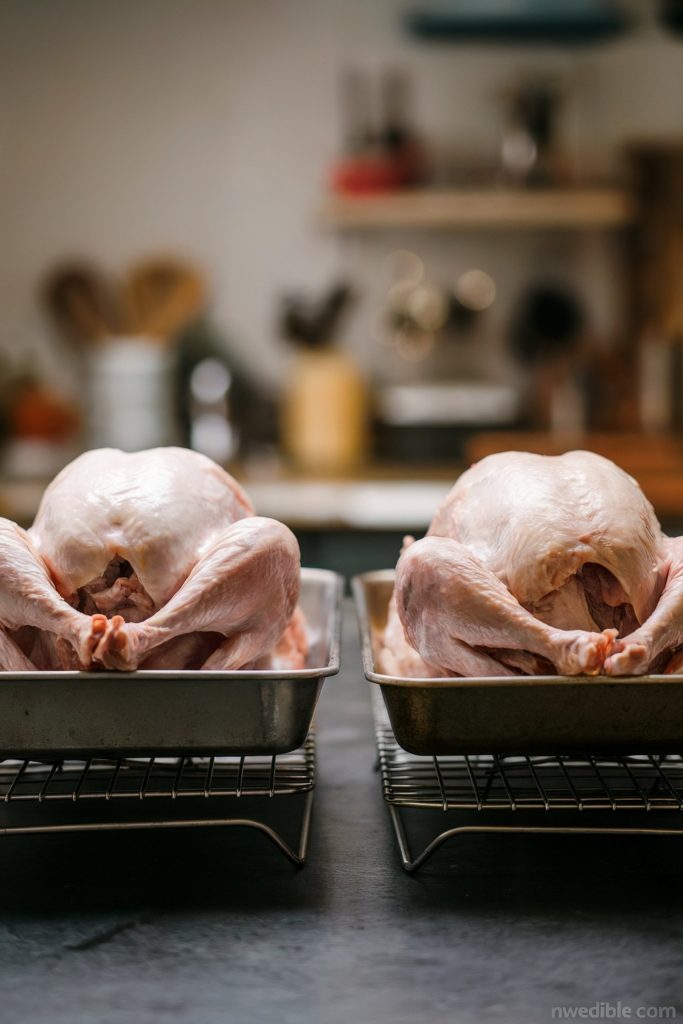
Prepping the Turkey
Proper preparation, including thawing, drying, and flavoring, guarantees a moist and flavorful final product.
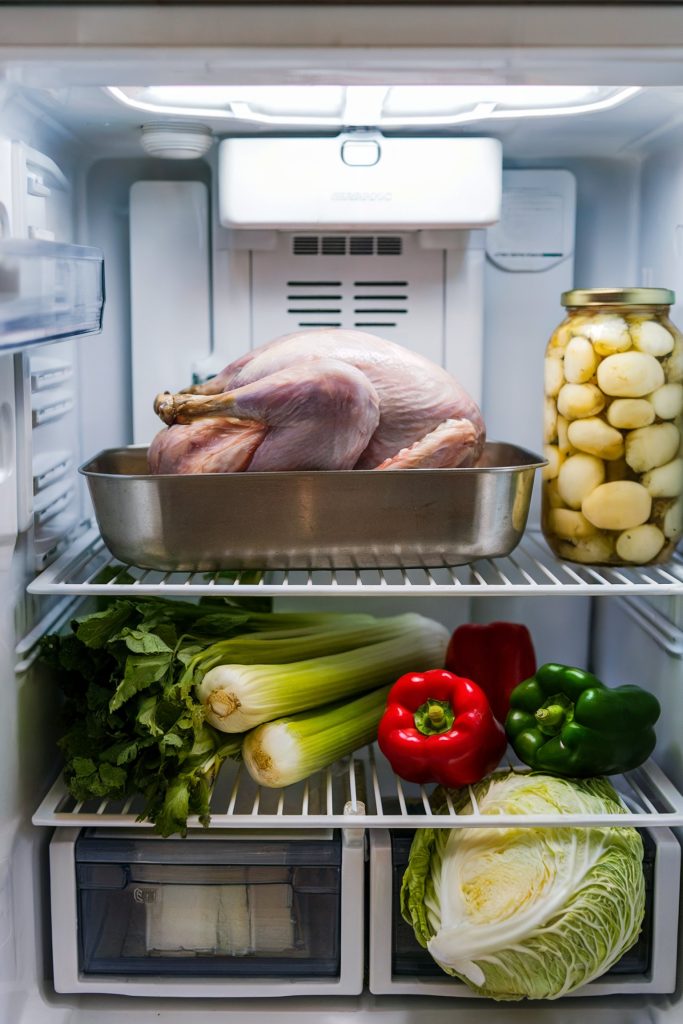
5. Thaw Completely
A completely thawed turkey cooks more evenly, preventing some parts from being overcooked while others are undercooked. Check for ice crystals before cooking. A partially frozen turkey will take significantly longer to cook.
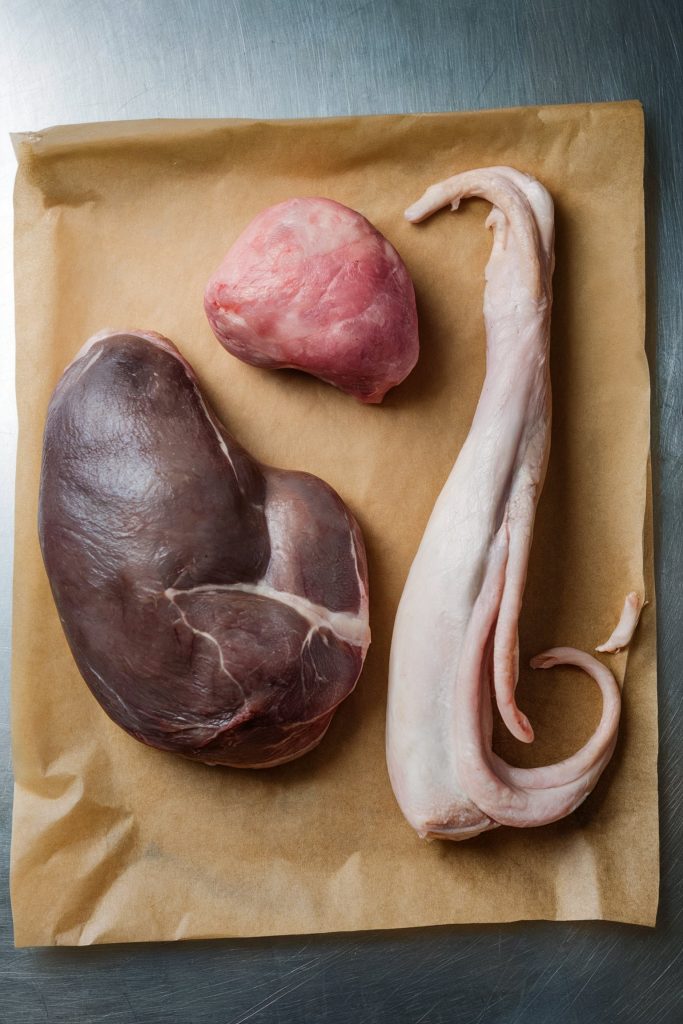
6. Remove Giblets
These are often packaged inside the turkey cavity and usually include the neck, gizzard, liver, and heart. Remove them and save them for making flavorful gravy.
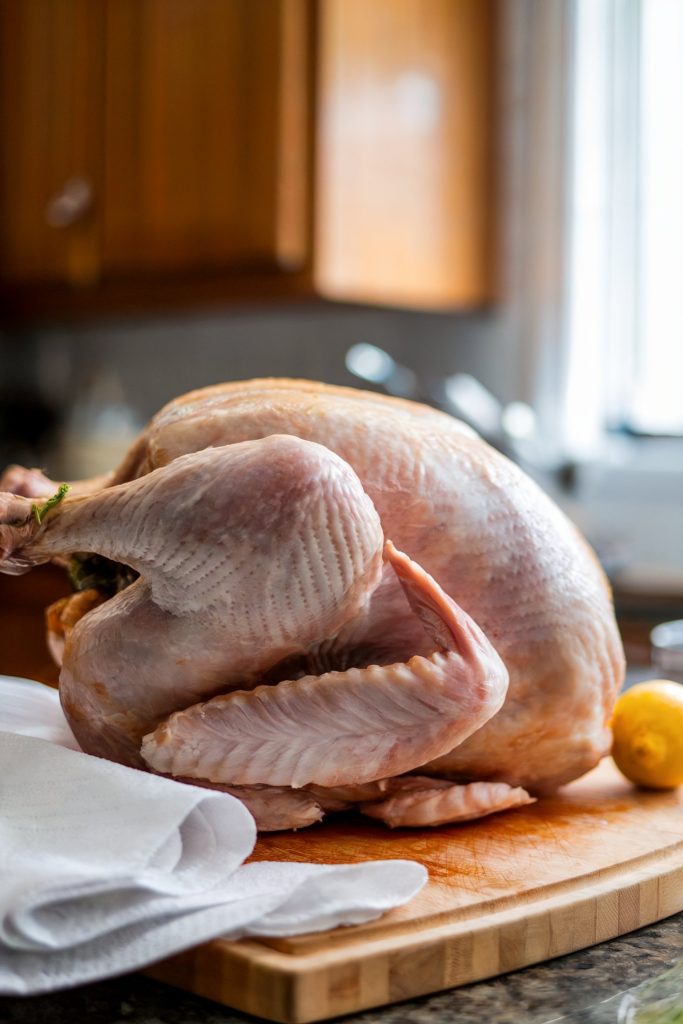
7. Pat it Dry
A dry turkey skin browns better and crisps up beautifully. Use paper towels to thoroughly pat the turkey dry, inside and out, removing any excess moisture.
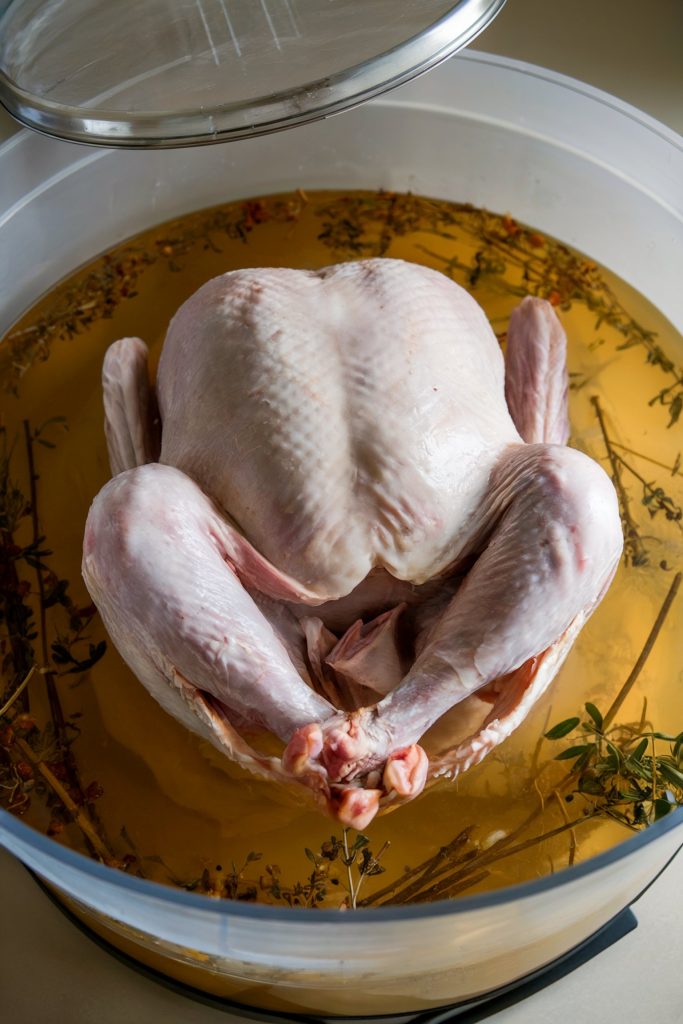
8. Soak the Turkey in a Brine Solution
Brining, either wet or dry, adds moisture and flavor deep into the meat. A wet brine involves soaking the turkey in a salt solution, while a dry brine uses a salt rub.
9. Flavor Infusion
Rub the turkey with herbs, spices, and seasonings to create a flavorful crust, then infuse the meat with aromatic notes. Get creative with your flavor combinations, from classic poultry blends to more adventurous options.

10. Compound Butter Magic
Make a compound butter by combining softened butter with herbs, spices, and other flavorings. Rub it under the turkey skin to add extra flavor and moisture, creating a barrier that helps keep the meat juicy.

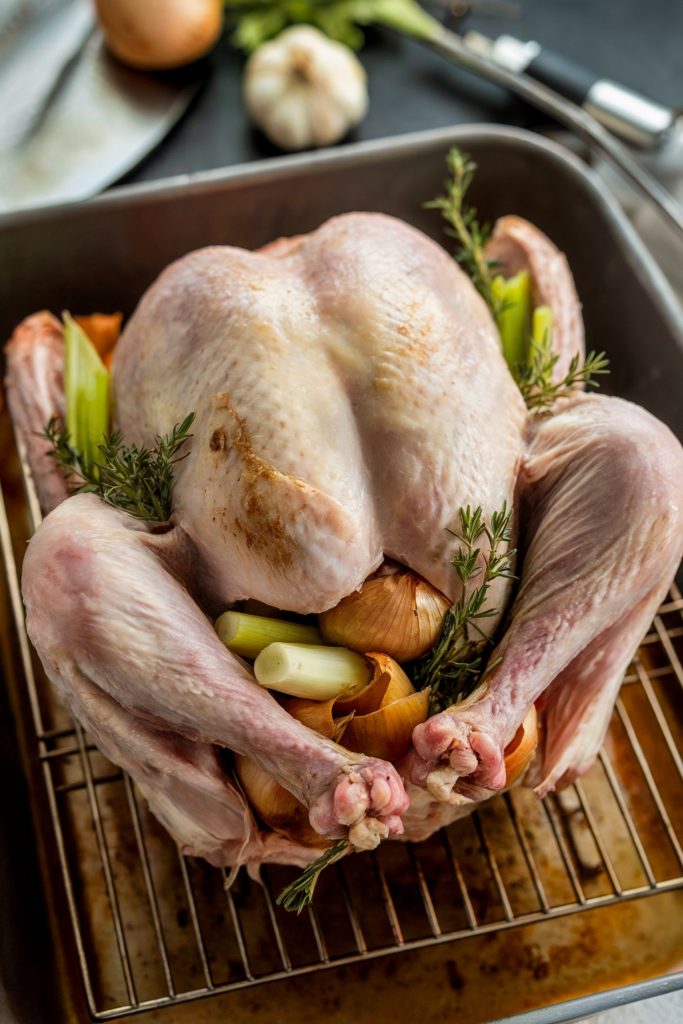
11. Aromatic Cavity
Stuff the turkey cavity with aromatics like onions, celery, garlic, and herbs. These will infuse the turkey with flavor from the inside out as it roasts.
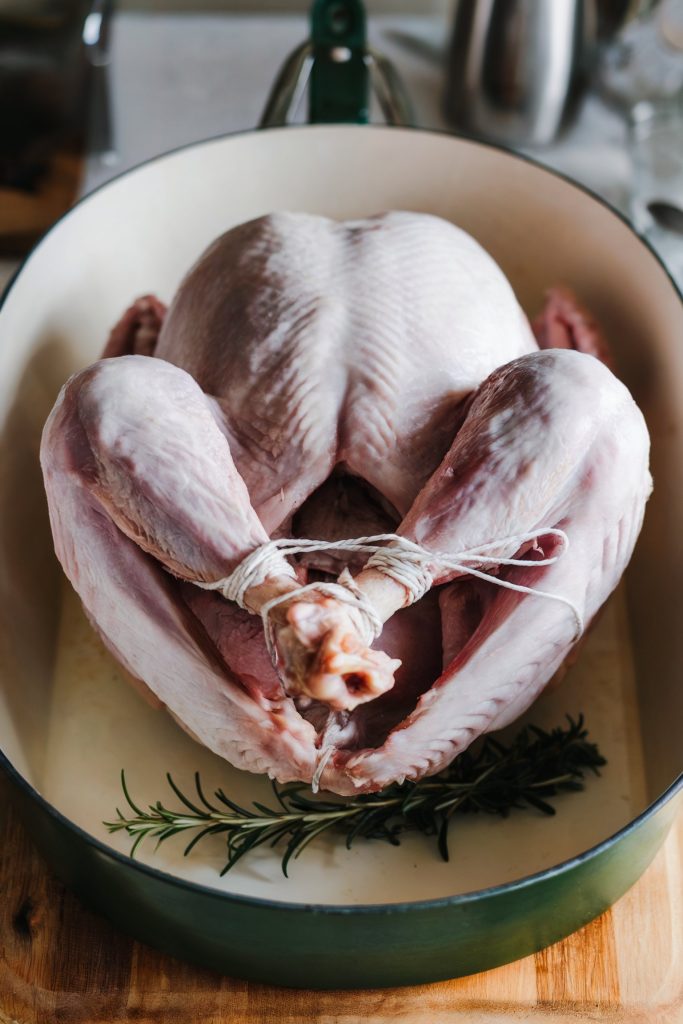
12. Truss the Turkey Legs
Trussing the legs can help the turkey cook more evenly by creating a more compact shape. To truss turkey legs, tie the ends of the legs together with kitchen twine, bringing them close to the body of the turkey for more even cooking.
Cooking Methods and Times
Using the correct cooking techniques and temperatures enables you to cook the turkey at a safe temperature while maintaining its juiciness.
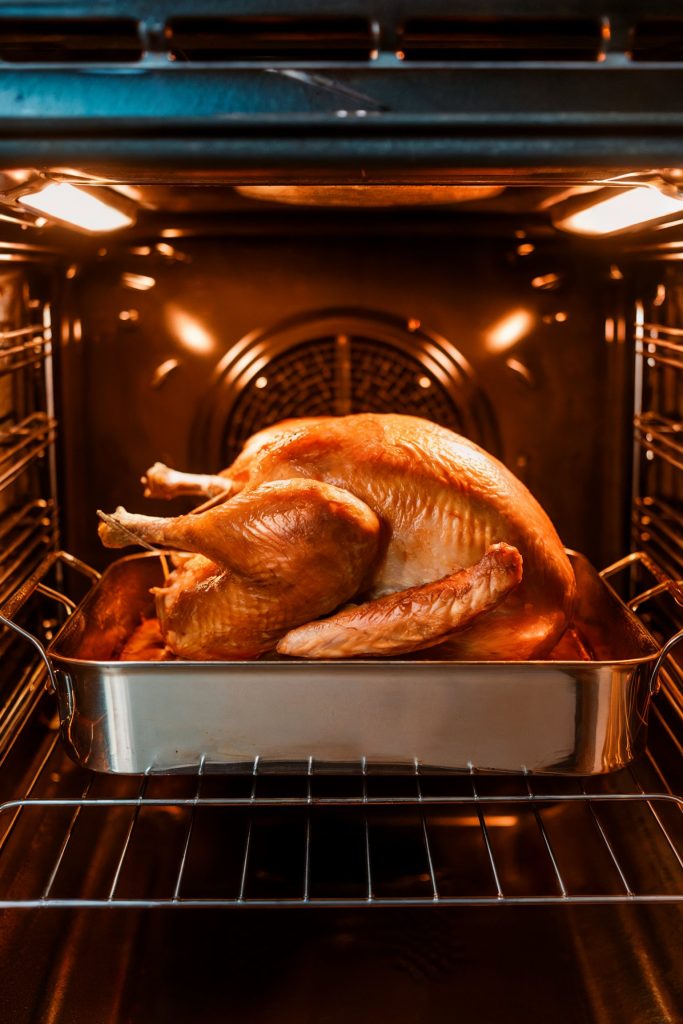
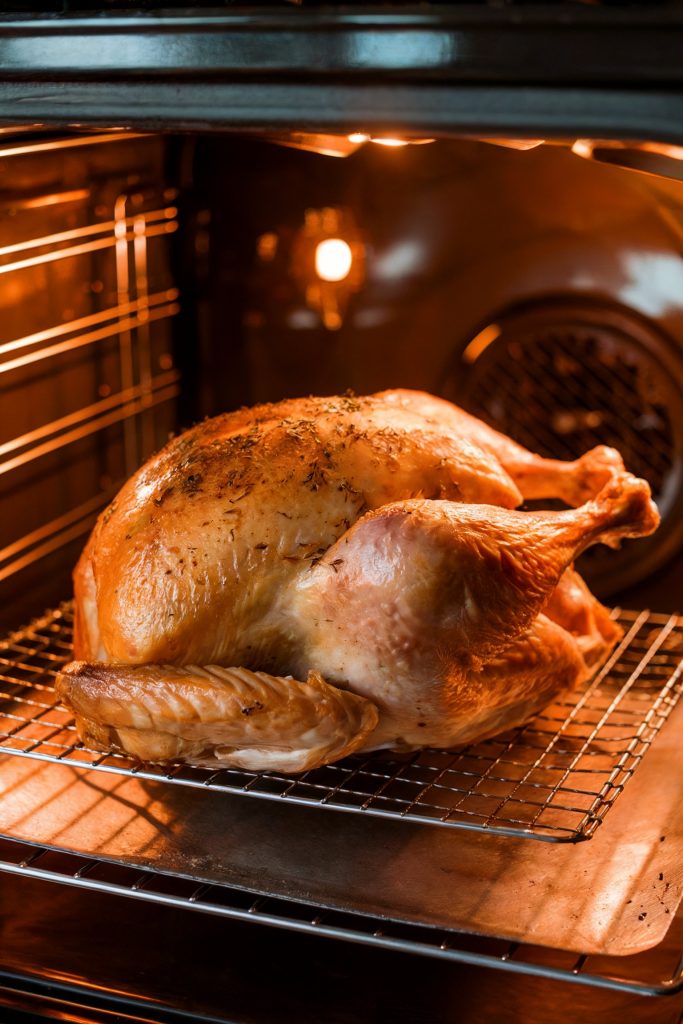
13. Set the Correct Oven Temperature
325°F (163°C) is a good starting point for roasting most turkeys, providing a balance between even cooking and browning. Adjust the temperature slightly depending on your oven and the size of your bird.
14. Follow Cooking Time Guidelines
A general rule of thumb is 13-15 minutes per pound for unstuffed turkeys and 15-18 minutes per pound for stuffed turkeys. However, these are just estimates, and the actual cooking time will vary.
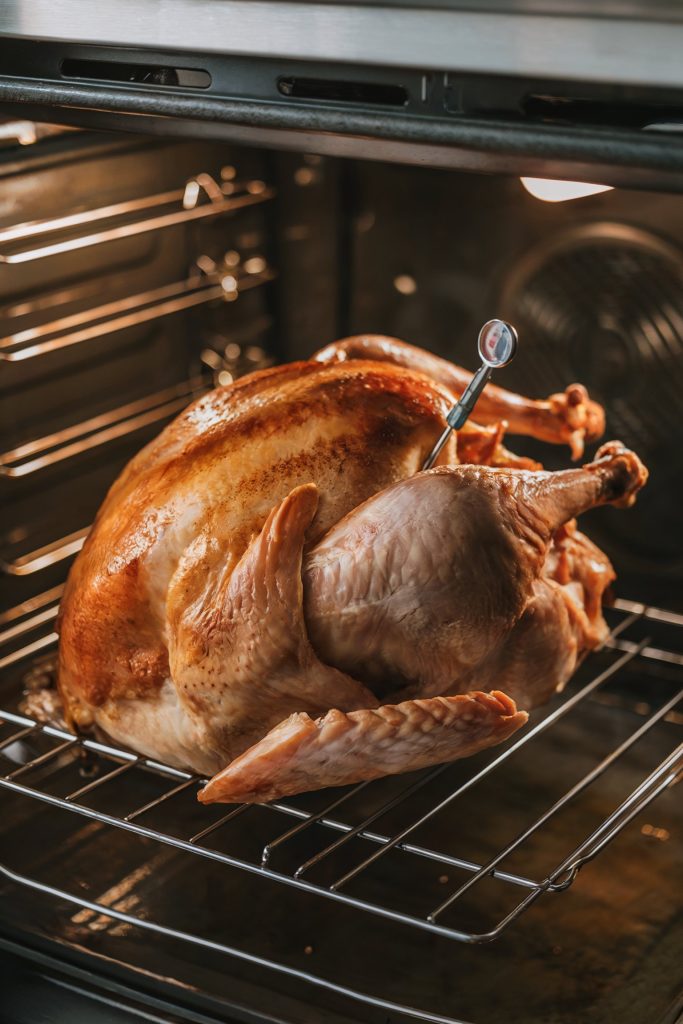
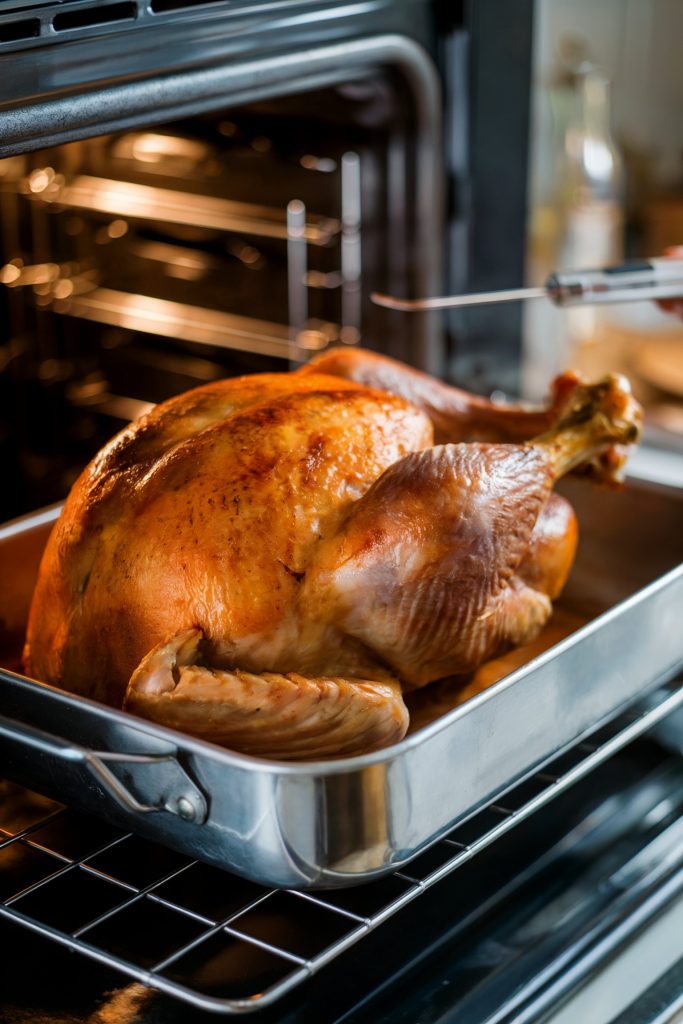
15. Use a Meat Thermometer
This is the most reliable way to cook turkeys at a safe internal temperature and prevent overcooking. Insert the thermometer into the thickest part of the thigh, avoiding the bone.
16. Know Your Target Temperature
The turkey should reach an internal temperature of 165°F (74°C) in the thickest part of the thigh to make sure it’s cooked through and safe to eat. This temperature kills any harmful bacteria.
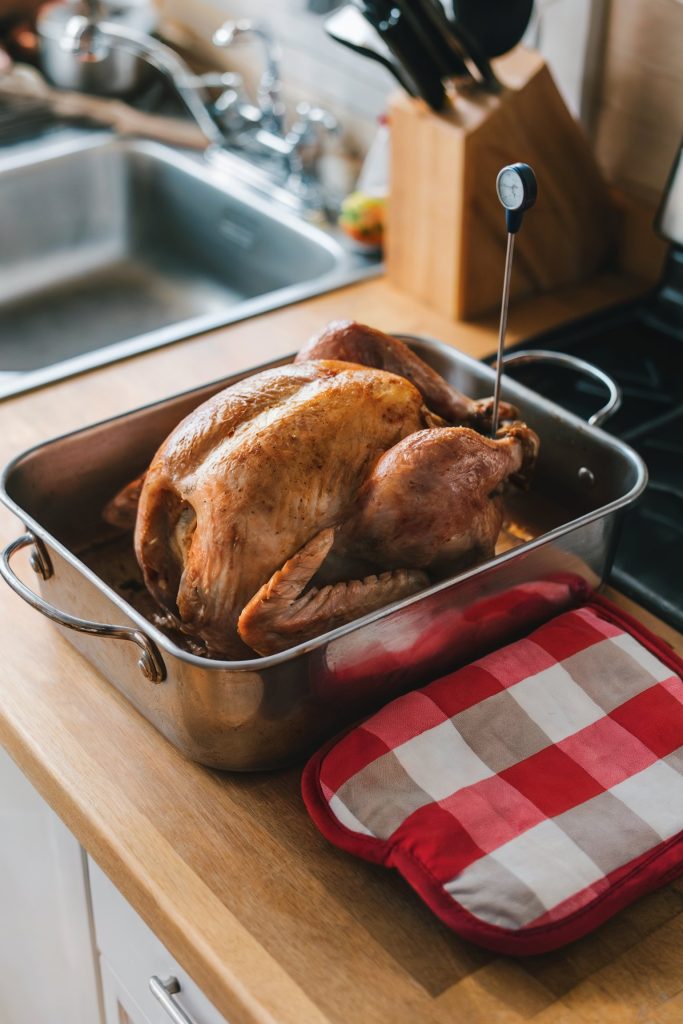
17. Let the Cooked Turkey Rest
Allow the turkey to rest for at least 30 minutes before carving, and even longer if possible. This enables the juices to redistribute throughout the meat, resulting in a more tender and flavorful bird.
18. Use a Convection Oven
Convection ovens circulate hot air, which cooks turkeys faster and more evenly. If using a convection oven, reduce the temperature by 25°F.
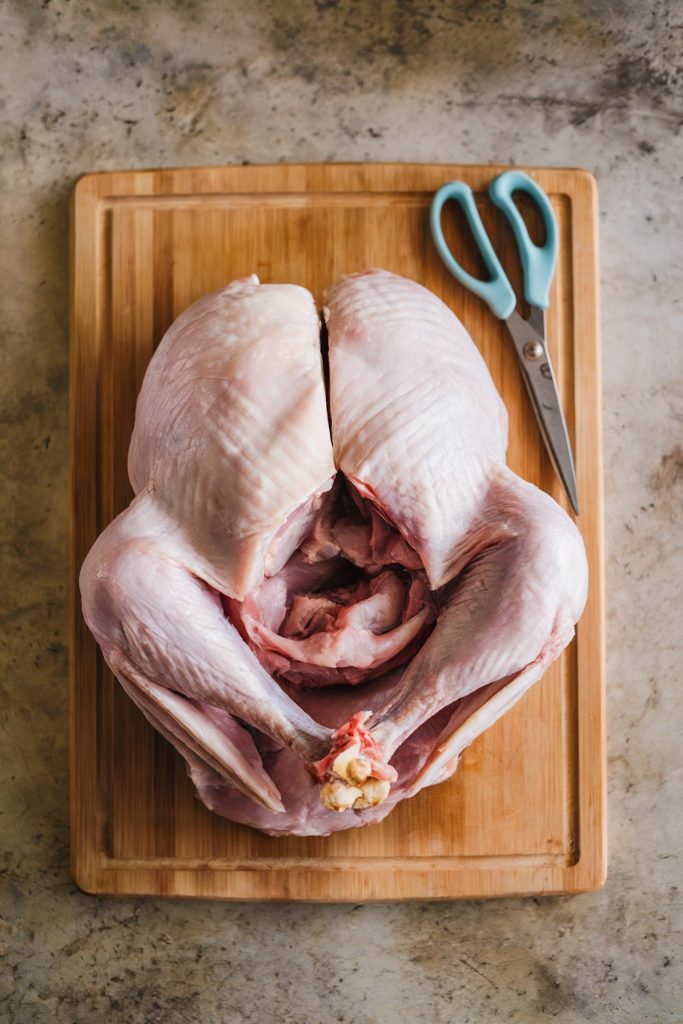
19. Try Spatchcocking
This technique involves removing the backbone and flattening the turkey, letting it cook faster and more evenly. Spatchcocking also creates more surface area for browning and flavor absorption.
20. Do Slow Roasting
For a super moist turkey, try slow roasting at a lower temperature, such as 275°F (135°C), for a longer period. This method requires careful monitoring yet can result in incredibly tender meat.
Basting and Glazing
These techniques enhance the turkey’s flavor, moisture, and appearance, creating a truly irresistible centerpiece.
21. Learn Basting Basics
Basting can help keep the turkey moist, although it’s not typically necessary, especially if you’ve brined or used a compound butter. If you do baste, do it sparingly to avoid opening the oven too frequently.

22. Prepare a Flavorful Basting Liquid
Use chicken broth, wine, or pan drippings for basting to add extra flavor. Avoid using plain water, as it will dilute the flavor of the turkey.
23. Glaze for the Finish
A glaze can add flavor and create a beautiful, glossy finish to your turkey. Apply it during the last hour of cooking for the best results.
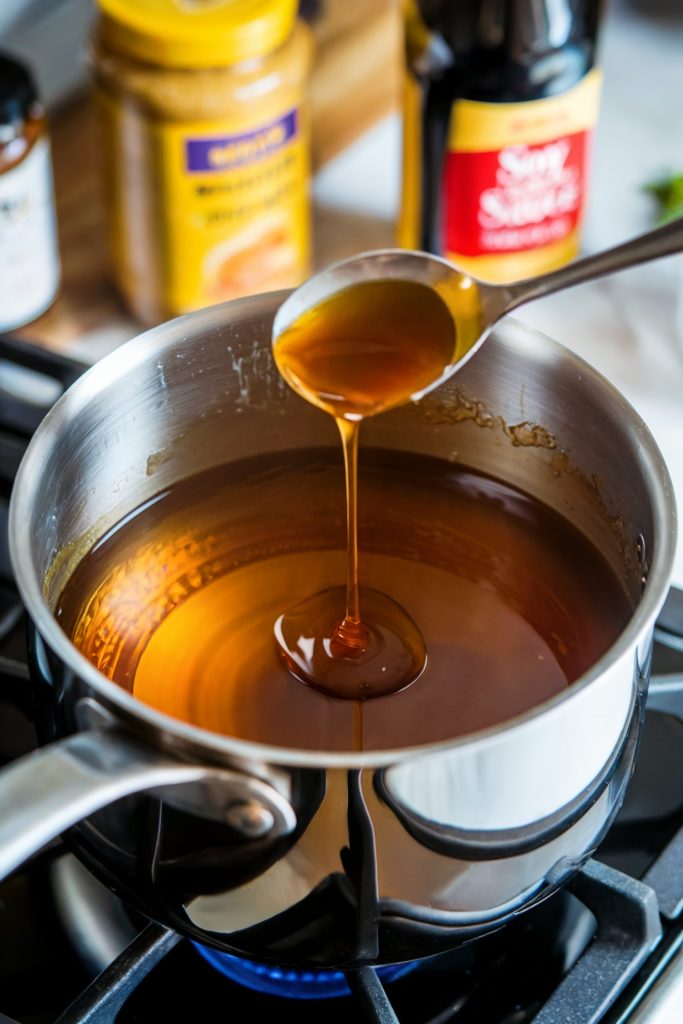
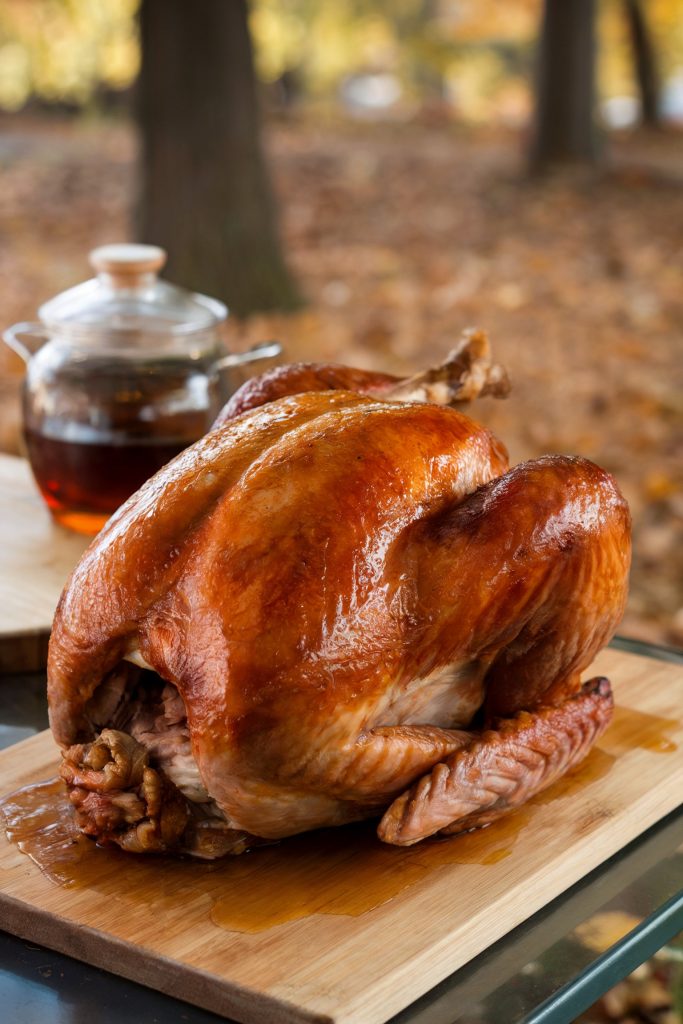
24. Add a Honey Glaze
A classic and delicious option, a honey glaze adds sweetness and helps the skin caramelize. Combine honey with other ingredients like Dijon mustard or soy sauce for a more complex flavor.
25. Use a Maple Glaze
A maple glaze adds a touch of sweetness and warmth, perfect for a fall or winter feast. Combine maple syrup with spices like cinnamon and ginger for a festive flavor.
Troubleshooting
Addressing common issues like dryness or uneven cooking can keep the perfect turkey even when things don’t go as planned.
26. Prevent a Dry Turkey
Brining, using a compound butter, and resting are key to preventing a dry turkey. If your turkey is still dry, consider serving it with gravy or a pan sauce.
27. Avoid Uneven Cooking
Make sure the turkey is completely thawed and use a meat thermometer to check the temperature in multiple locations. Rotate the turkey during cooking if necessary.
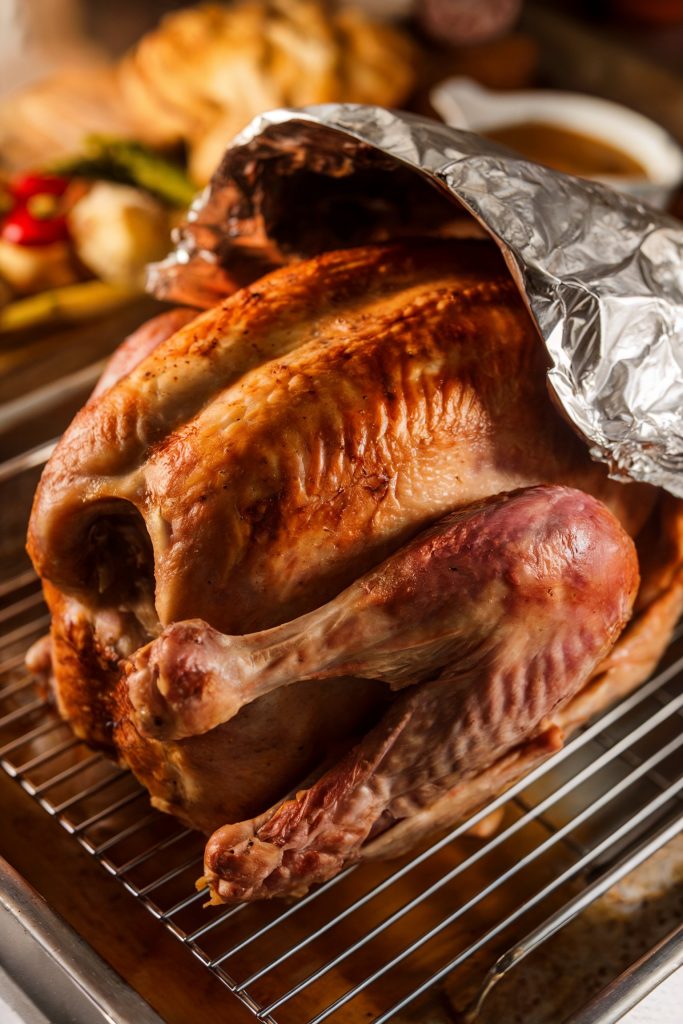
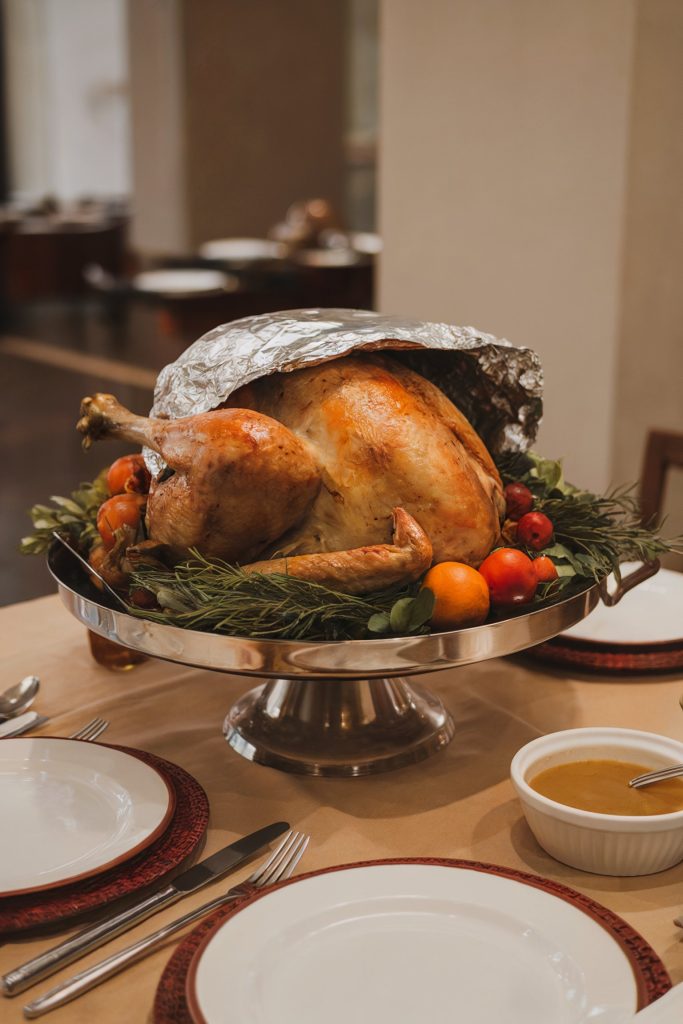
28. Prevent a Burnt Skin
Cover the turkey with foil if the skin is browning too quickly to prevent burning. You can remove the foil during the last 30 minutes to crisp up the skin.
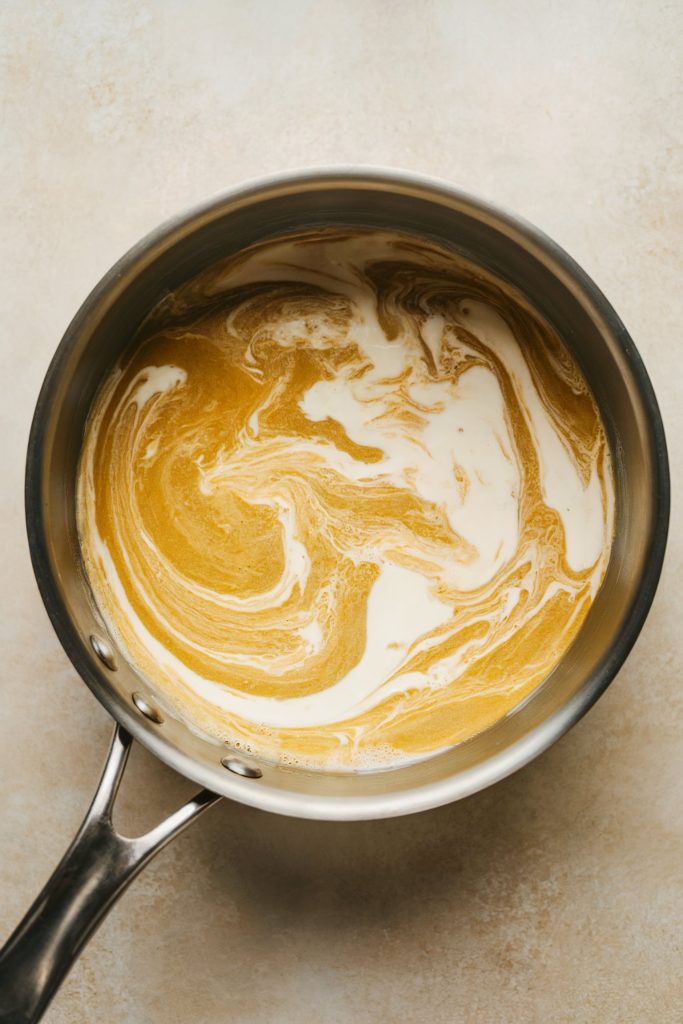
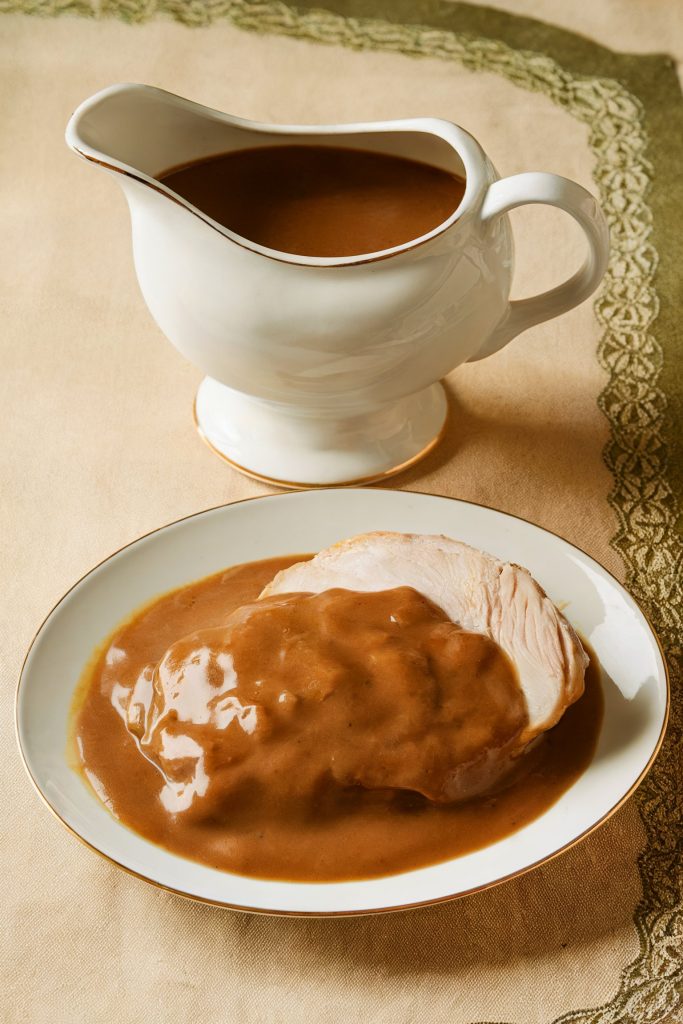
29. Prepare a Gravy
Use the pan drippings to make a flavorful gravy. If your gravy is too thin, thicken it with a slurry of cornstarch and water.
Carving and Serving
Proper carving and presentation bring the dining experience to the next level and let everyone enjoy the perfectly cooked turkey at its best.
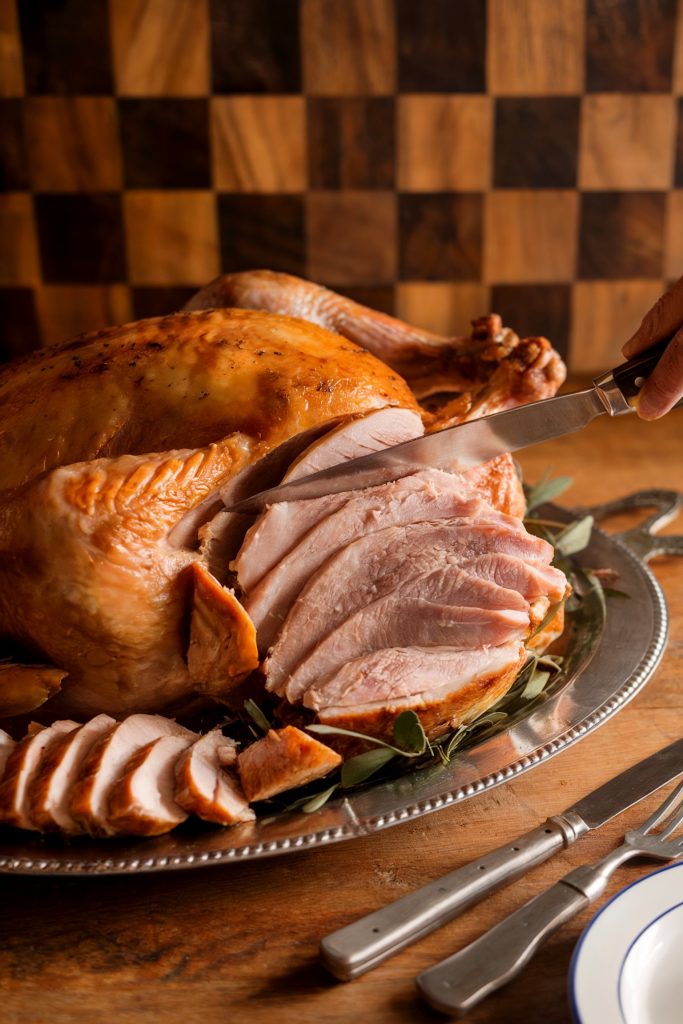
30. Use a Sharp Knife
A sharp carving knife is important to achieve clean slices and makes the carving process much easier and safer. Invest in a good quality carving knife for best results.
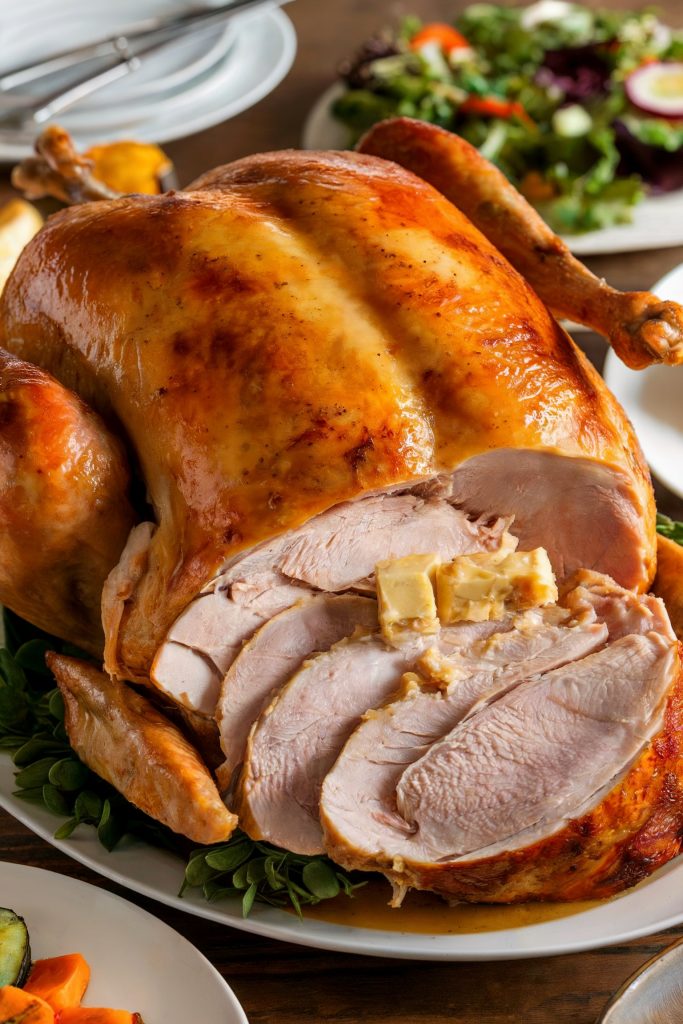
31. Practice Carving Techniques
There are many different turkey carving techniques, from traditional methods to more modern approaches. Find one that works best for you and practice it before the big day.
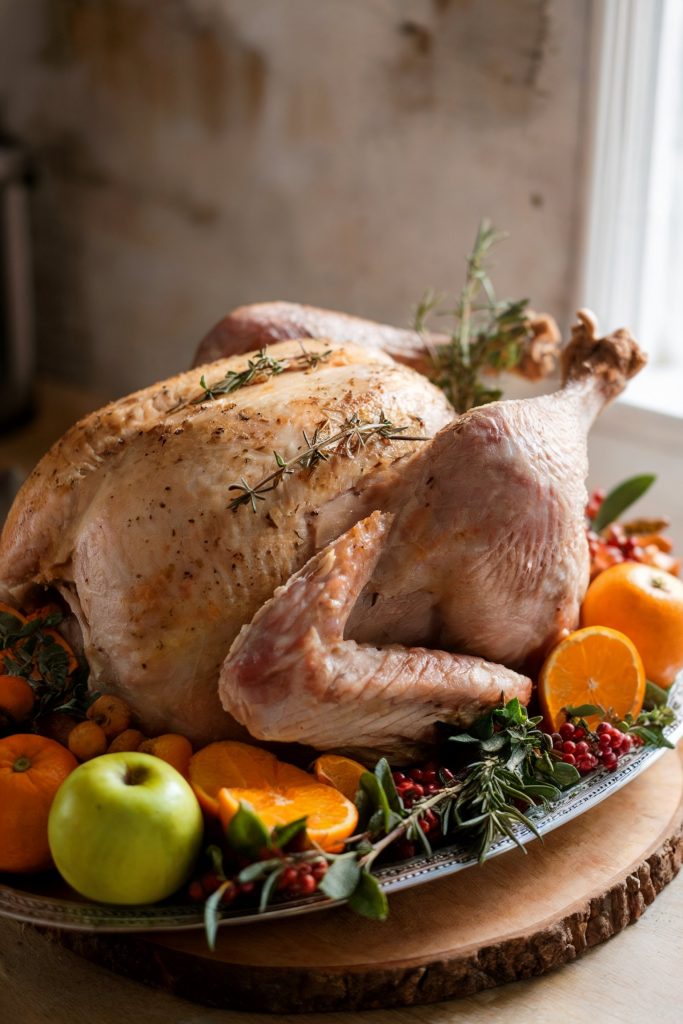
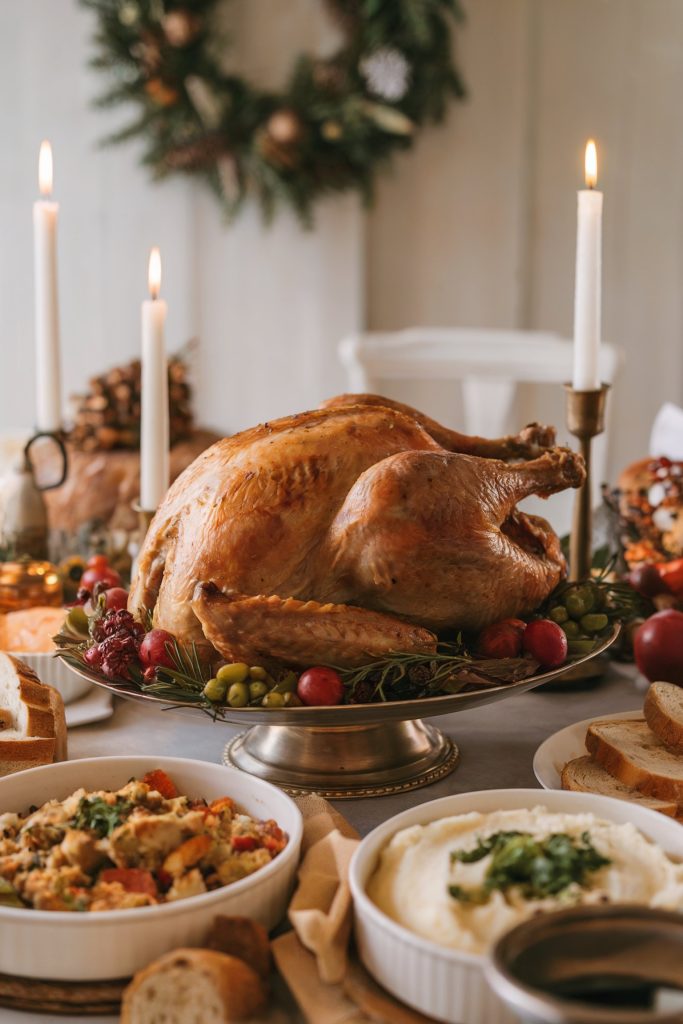
32. Garnish the Turkey
Arrange the carved turkey on a platter for a beautiful presentation. Garnish with fresh herbs and seasonal fruits for an extra touch.
33. Prepare a Warm Platter
Use a warm platter to keep the turkey warm while serving. This will prevent the turkey from cooling down too quickly.
34. Enjoy!
Savor the fruits of your labor and enjoy your perfectly cooked turkey with family and friends. It’s a moment to celebrate and enjoy the delicious meal you’ve prepared.
How Long to Cook an Unstuffed Turkey
Here’s a quick chart to determine how long to cook an unstuffed turkey. Match the turkey’s weight to the corresponding cooking time range for a safe and properly cooked bird.
| Weight | Cook Time | Servings |
| 8 to 12 pounds | 2¾ to 3 hours | 5 to 8 |
| 12 to 14 pounds | 3 to 3¾ hours | 8 to 9 |
| 14 to 18 pounds | 3¾ to 4¼ hours | 9 to 12 |
| 18 to 20 pounds | 4¼ to 4½ hours | 12 to 13 |
| 20 to 24 pounds | 4½ to 5 hours | 13 to 16 |
Recipes for Unstuffed Turkey
Precise cooking times for unstuffed turkey are important to achieve the perfect balance between food safety and maintaining optimal juiciness, as overcooking can quickly lead to a dry, disappointing result.
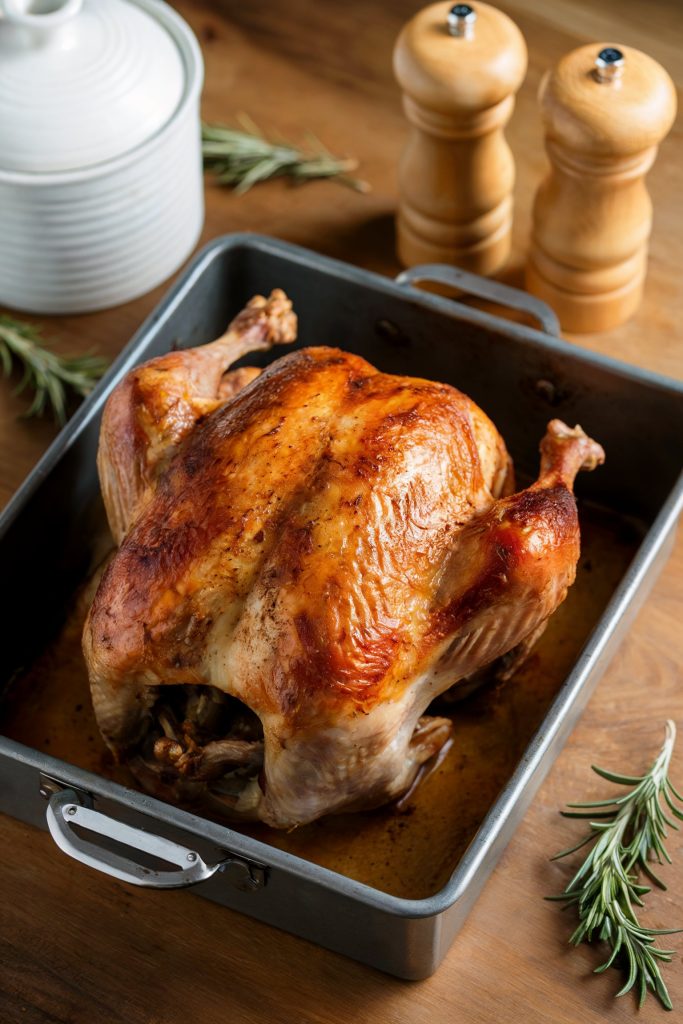
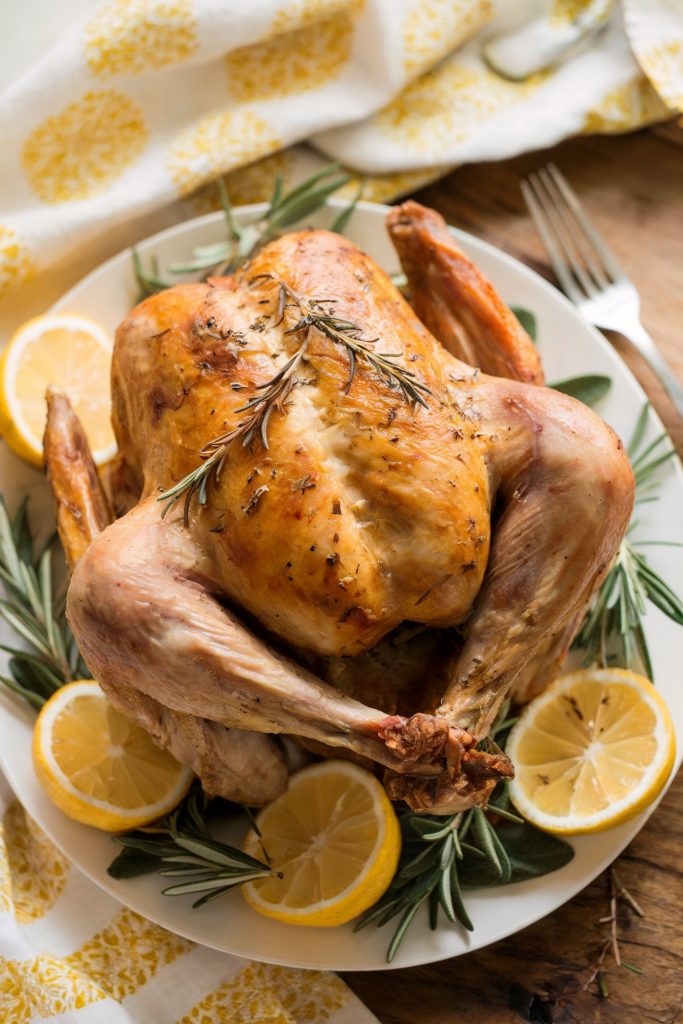
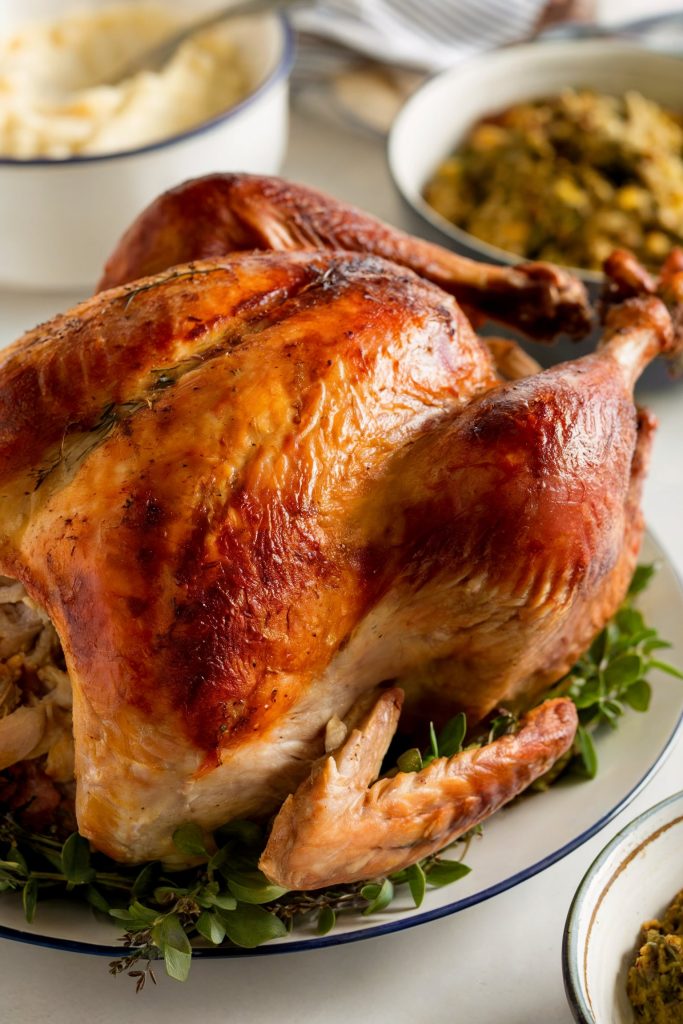
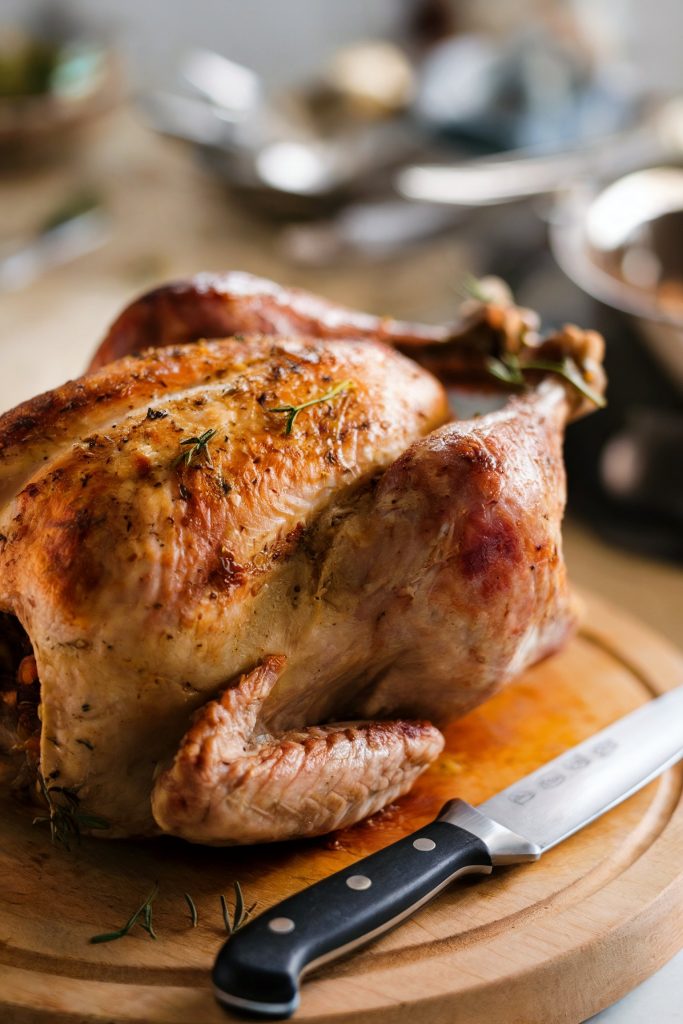
Classic Herb-Roasted Turkey
This recipe is a timeless favorite, showcasing the simple yet delicious flavors of fresh herbs and a perfectly roasted turkey. The taste is savory and aromatic, with a moist and tender turkey infused with the fragrant notes of rosemary, thyme, and sage. Using fresh herbs provides vitamins and antioxidants.
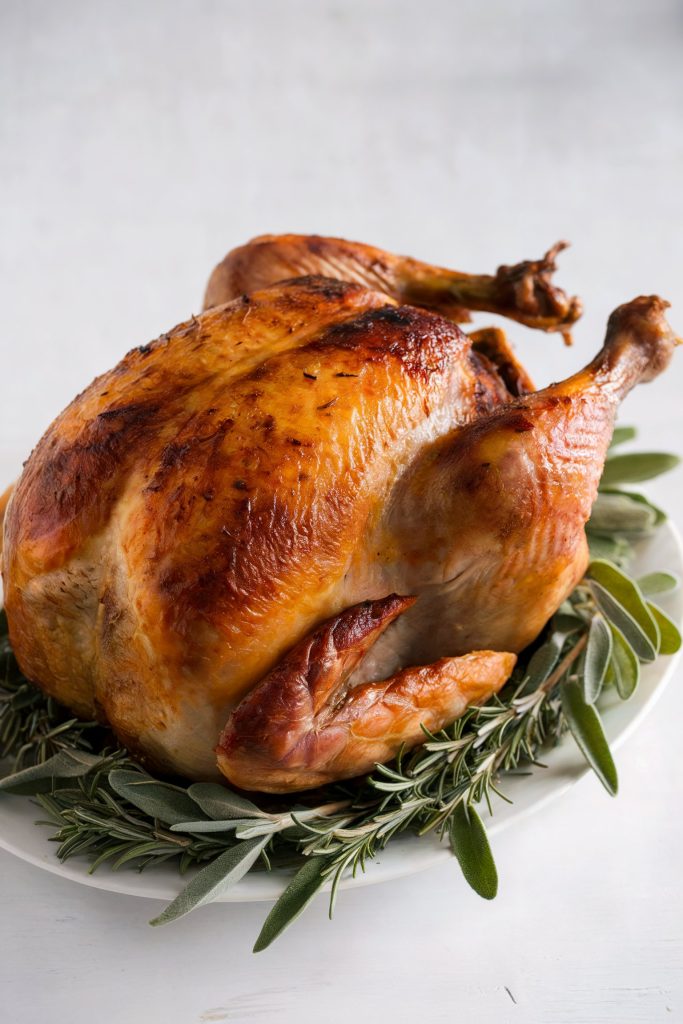
- Combine softened butter with chopped rosemary, thyme, sage, minced garlic, salt, and pepper.
- Rub the herb butter all over the turkey, including under the skin.
- Place onion, celery, and carrots in the turkey cavity.
- Roast at 325°F (163°C) until a meat thermometer inserted into the thigh reaches 165°F (74°C).
Spatchcocked Turkey With Maple Glaze
Spatchcocking, or butterflying, the turkey allows it to cook more evenly and quickly. The maple glaze adds a touch of sweetness and creates a beautiful, glossy finish. Maple syrup contains some antioxidants.
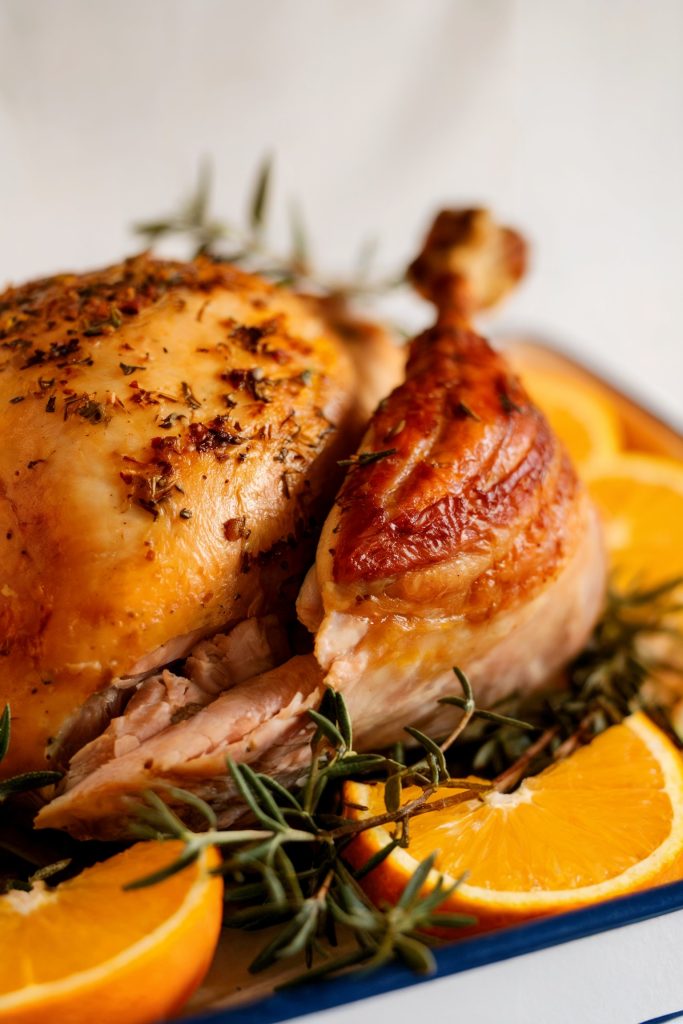
- Remove the turkey’s backbone and flatten it.
- Combine maple syrup, Dijon mustard, and apple cider vinegar.
- Brush the glaze over the turkey.
- Roast at 425°F (220°C) until a meat thermometer inserted into the thigh reaches 165°F (74°C).
How Long to Cook a Stuffed Turkey
Here’s a simple chart to help you determine the cooking time for a stuffed turkey. Select the time range that corresponds to the turkey’s weight for a safe and thoroughly cooked meal, keeping in mind that stuffing may require slightly longer cooking times.
| Weight | Cook Time | Servings |
| 8 to 12 pounds | 3 to 3½ hours | 6 to 9 |
| 12 to 14 pounds | 3½ to 4 hours | 9 to 10 |
| 14 to 18 pounds | 4 to 4¼ hours | 10 to 13 |
| 18 to 20 pounds | 4¼ to 4¾ hours | 13 to 14 |
| 20 to 24 pounds | 4¾ to 5¼ hours | 14 to 17 |
Recipes for Stuffed Turkey
Achieving precise cooking times for stuffed turkey is vital to make sure both the bird and stuffing reach safe internal temperatures while maintaining moisture and flavor throughout the extended cooking process.
Traditional Bread Stuffing With Herbs
This classic stuffing is a mix of bread cubes, celery, onion, herbs, and seasonings, creating a comforting and flavorful complement to the turkey. The taste is savory and herbaceous, with a soft and slightly chewy texture. Using whole-wheat bread increases the fiber content.
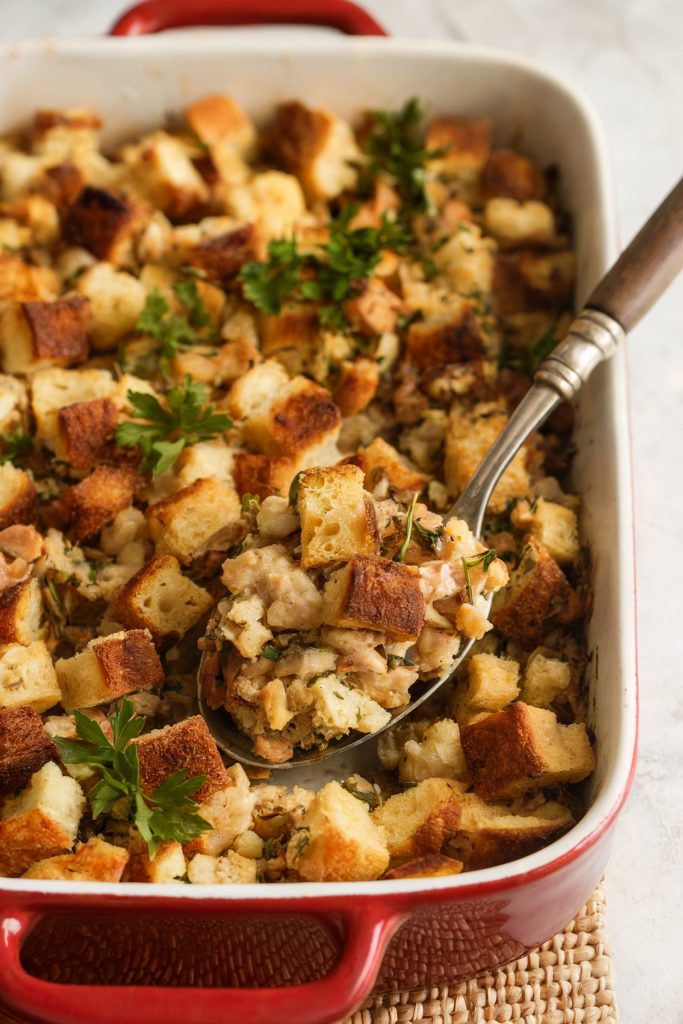
- Sauté celery and onion in butter.
- Combine bread cubes, sautéed vegetables, herbs, and broth.
- Stuff the turkey cavity loosely.
- Roast the turkey at 325°F (163°C) until a meat thermometer inserted into the thigh reaches 165°F (74°C).
Apple and Cranberry Stuffing
This fruity stuffing adds a touch of sweetness and tartness to the meal, balancing the savory flavors of the turkey. The apples and cranberries provide a burst of fresh flavor and texture. Apples and cranberries are packed with vitamins and antioxidants.
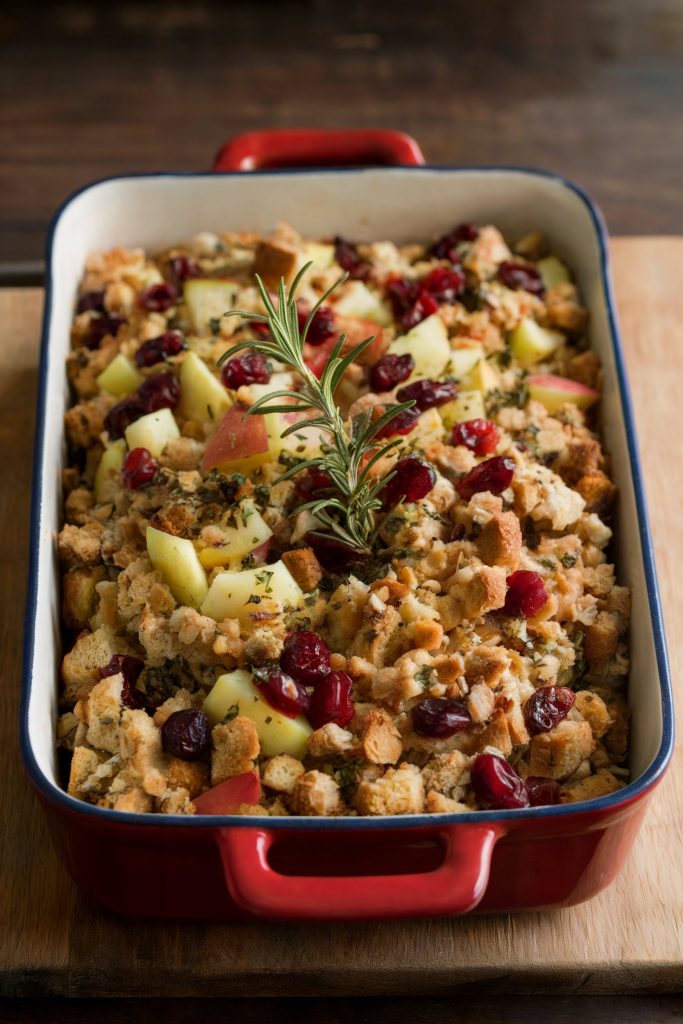
- Sauté apples and cranberries with onion and spices.
- Combine the fruit mixture with bread cubes, nuts, and broth.
- Stuff the turkey cavity loosely.
- Roast the turkey at 325°F (163°C) until a meat thermometer inserted into the thigh reaches 165°F (74°C).
Conclusion
With these proven turkey tips and cooking times, you’ll confidently serve a perfectly cooked bird that will have your guests raving for years to come. Start your journey to becoming a turkey master today by bookmarking this guide and using my foolproof temperature charts for your next family gathering.
Nathaniel Lee is an avid cook, drawing on his decades of home cooking and fine dining experience. He is a contributing chef at Mashed, and his recipes and contributions have been featured in Tasting Table, Edible Arrangements, Insanely Good Recipes, and The Daily Meal.